

Managing Data Models in Propexo
Data models define the categories of information that your property management system (PMS) shares with Propexo.
Configuring which models are enabled is a key part of setting up your integration. This ensures that:
- Only the data you need flows into Propexo.
- Costs are managed effectively.
- Your integration is tailored to your business needs.
You can always enable additional models later as your requirements change.
Default Models
When you create a new integration, Propexo automatically enables two core models:
- Properties
- Locations
These models provide the foundational data needed to get started.
Accessing and Exploring Data Models
To view and manage your data models:
- Log in to the Propexo web app.
- Navigate to the Models tab.
You will be presented with a list of models. Click on models with dropdowns to see the specific data types they contain.

For example, selecting the Financial model will display entities such as:
- Resident charges
- Recurring resident charges
- Resident payments
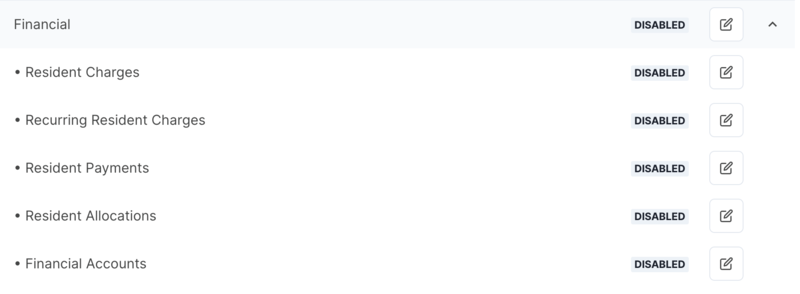
From this view, you can also choose which model elements should be enabled or disabled.
Enabling or Disabling Data Models
You have full control over which models (and sub-models) are active in your integration.
To update model settings:
- In the Models tab, find the model you want to adjust.
- Click the Edit button on the right side of the model row.

In the configuration screen, you can:
- Enable or disable the entire model.
- Enable the model only for specific PMS platforms (if applicable).
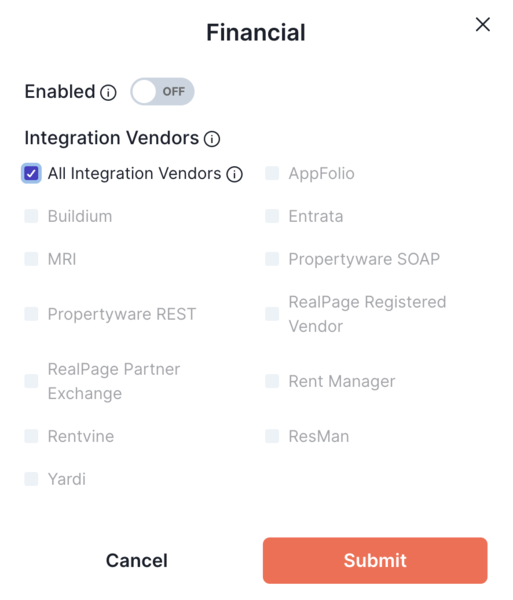
To enable or disable individual model elements, expand the model by clicking the dropdown, and select the individual model element you’d like to edit.
