Yardi: Billing and Payments Interface Setup Guide
Yardi: Billing and Payments Interface Setup Guide
The Billing and Payments interface in Yardi requires vendor configuration, user setup, and property setup. This guide walks you through the full process step by step.
Vendor Configuration
-
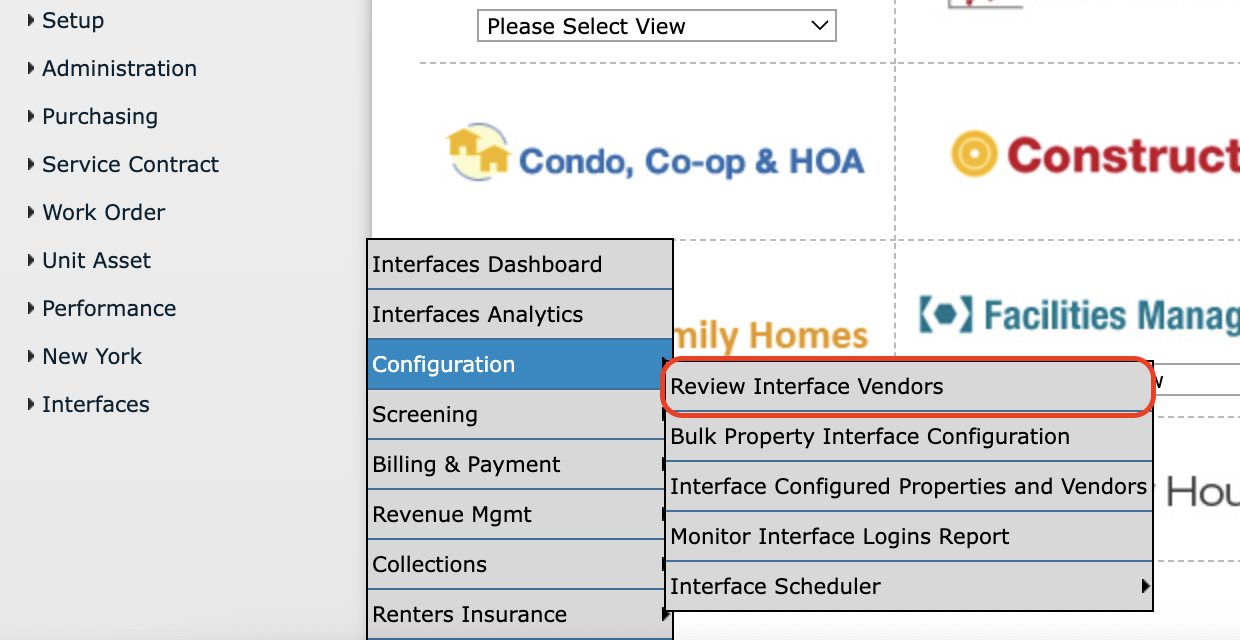
Navigate to Interfaces > Configuration > Review Interface Vendors.
-
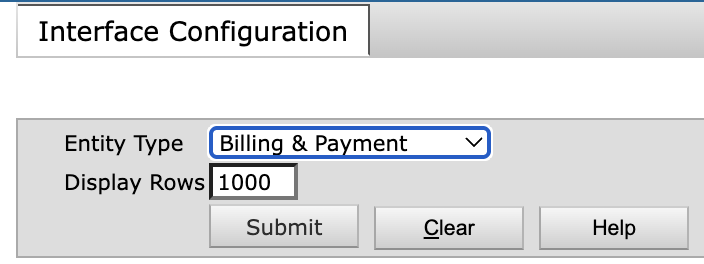
Select Billing and Payments from the Entity Type drop-down list.
-
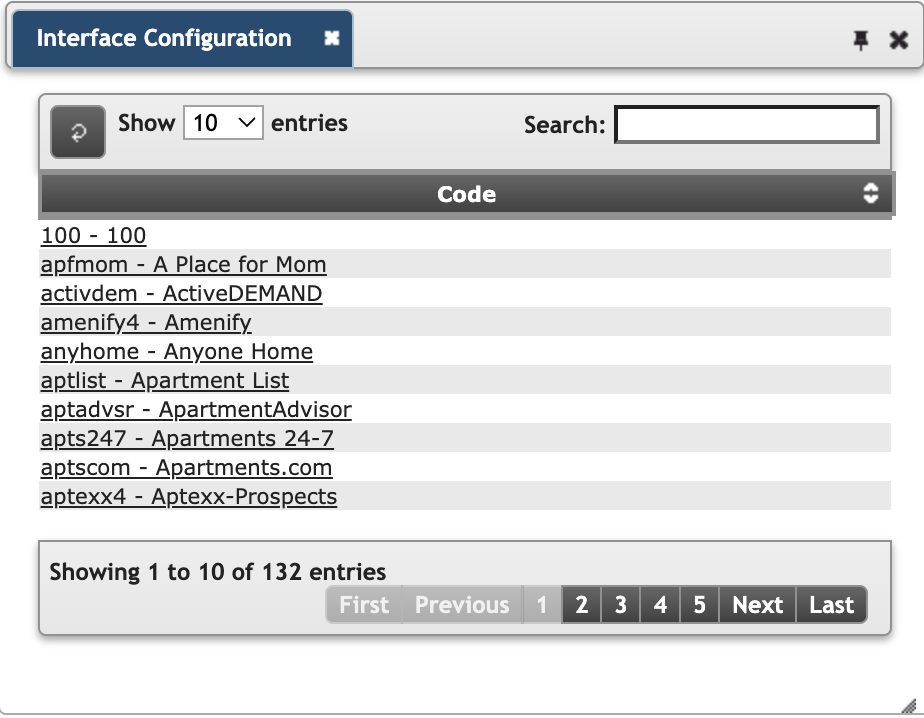
Click Submit. The list of available vendors will appear in the side menu.
-
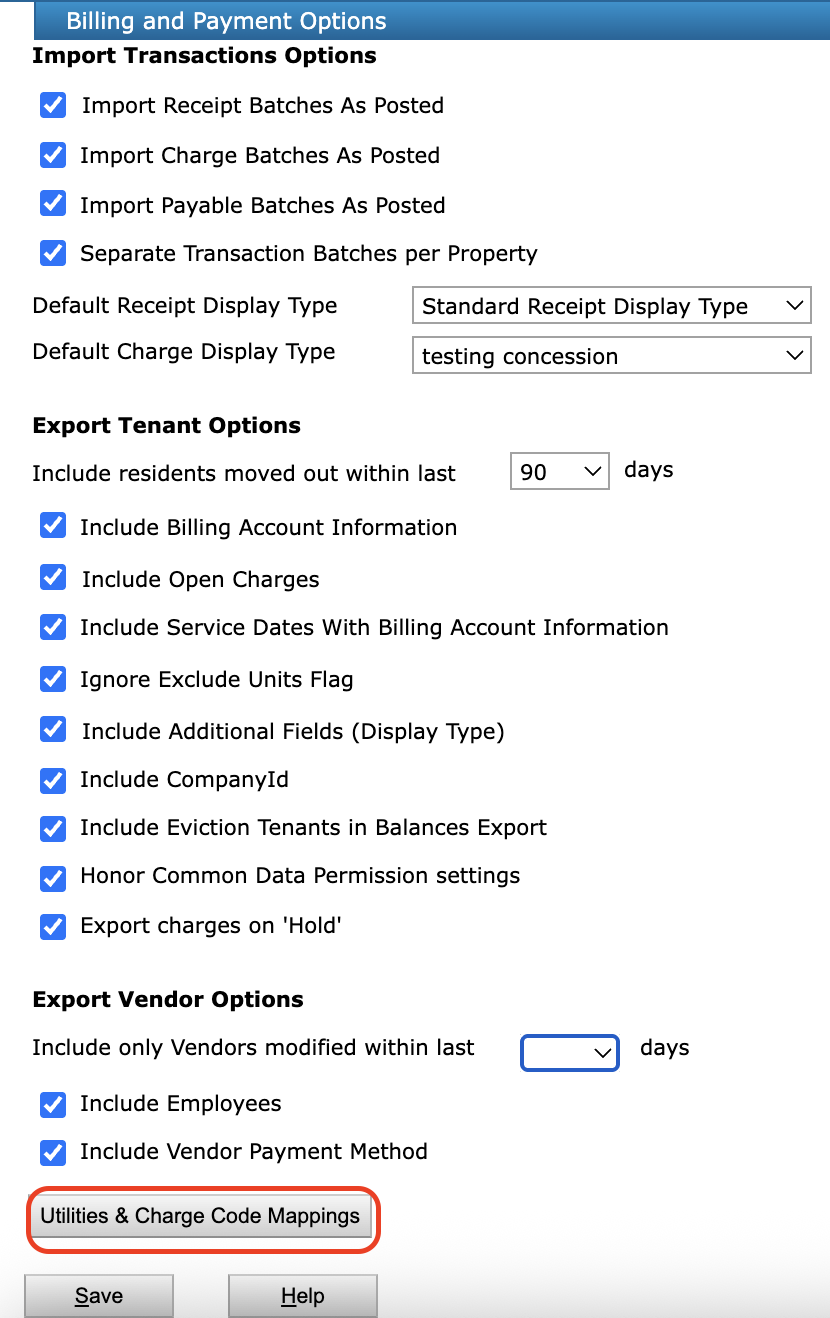
Select the appropriate vendor.
- Use the maximum settings unless there is a specific reason not to.
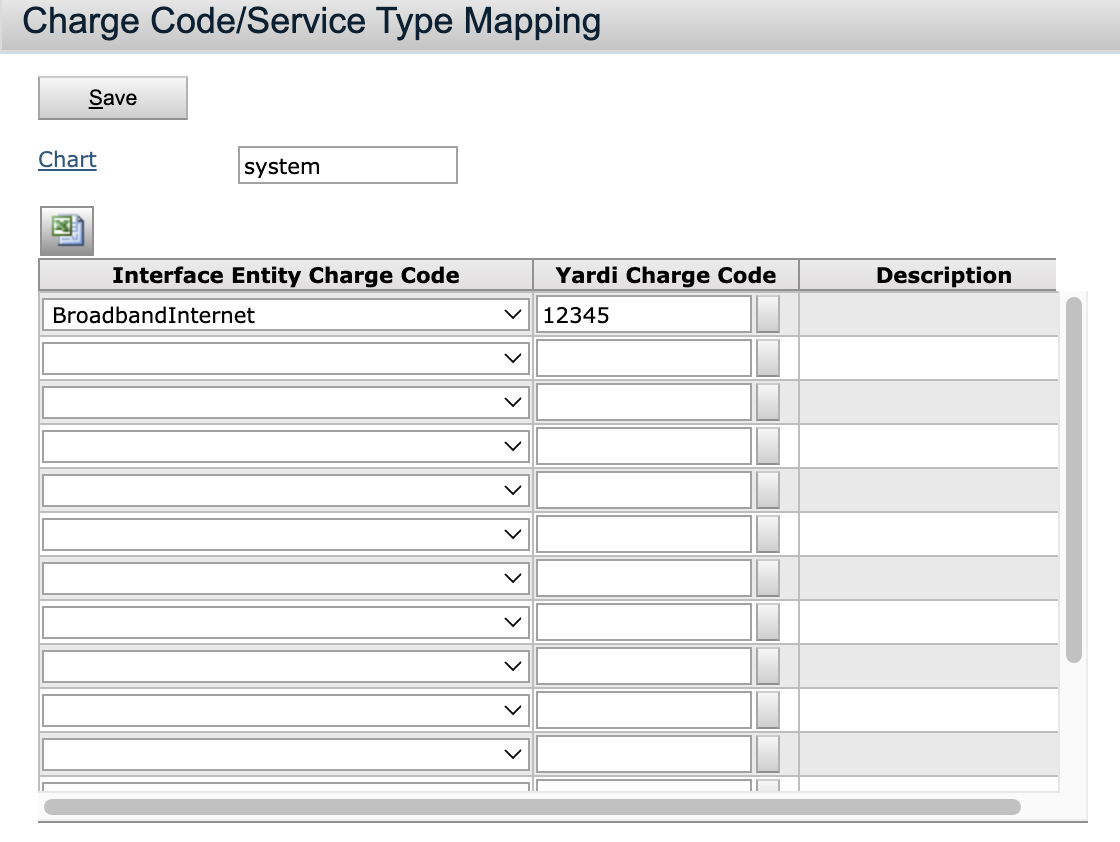
- Map utility billing company charge codes to the corresponding Yardi charge codes as needed.
Example configuration with highlighted mapping setup:
User Setup
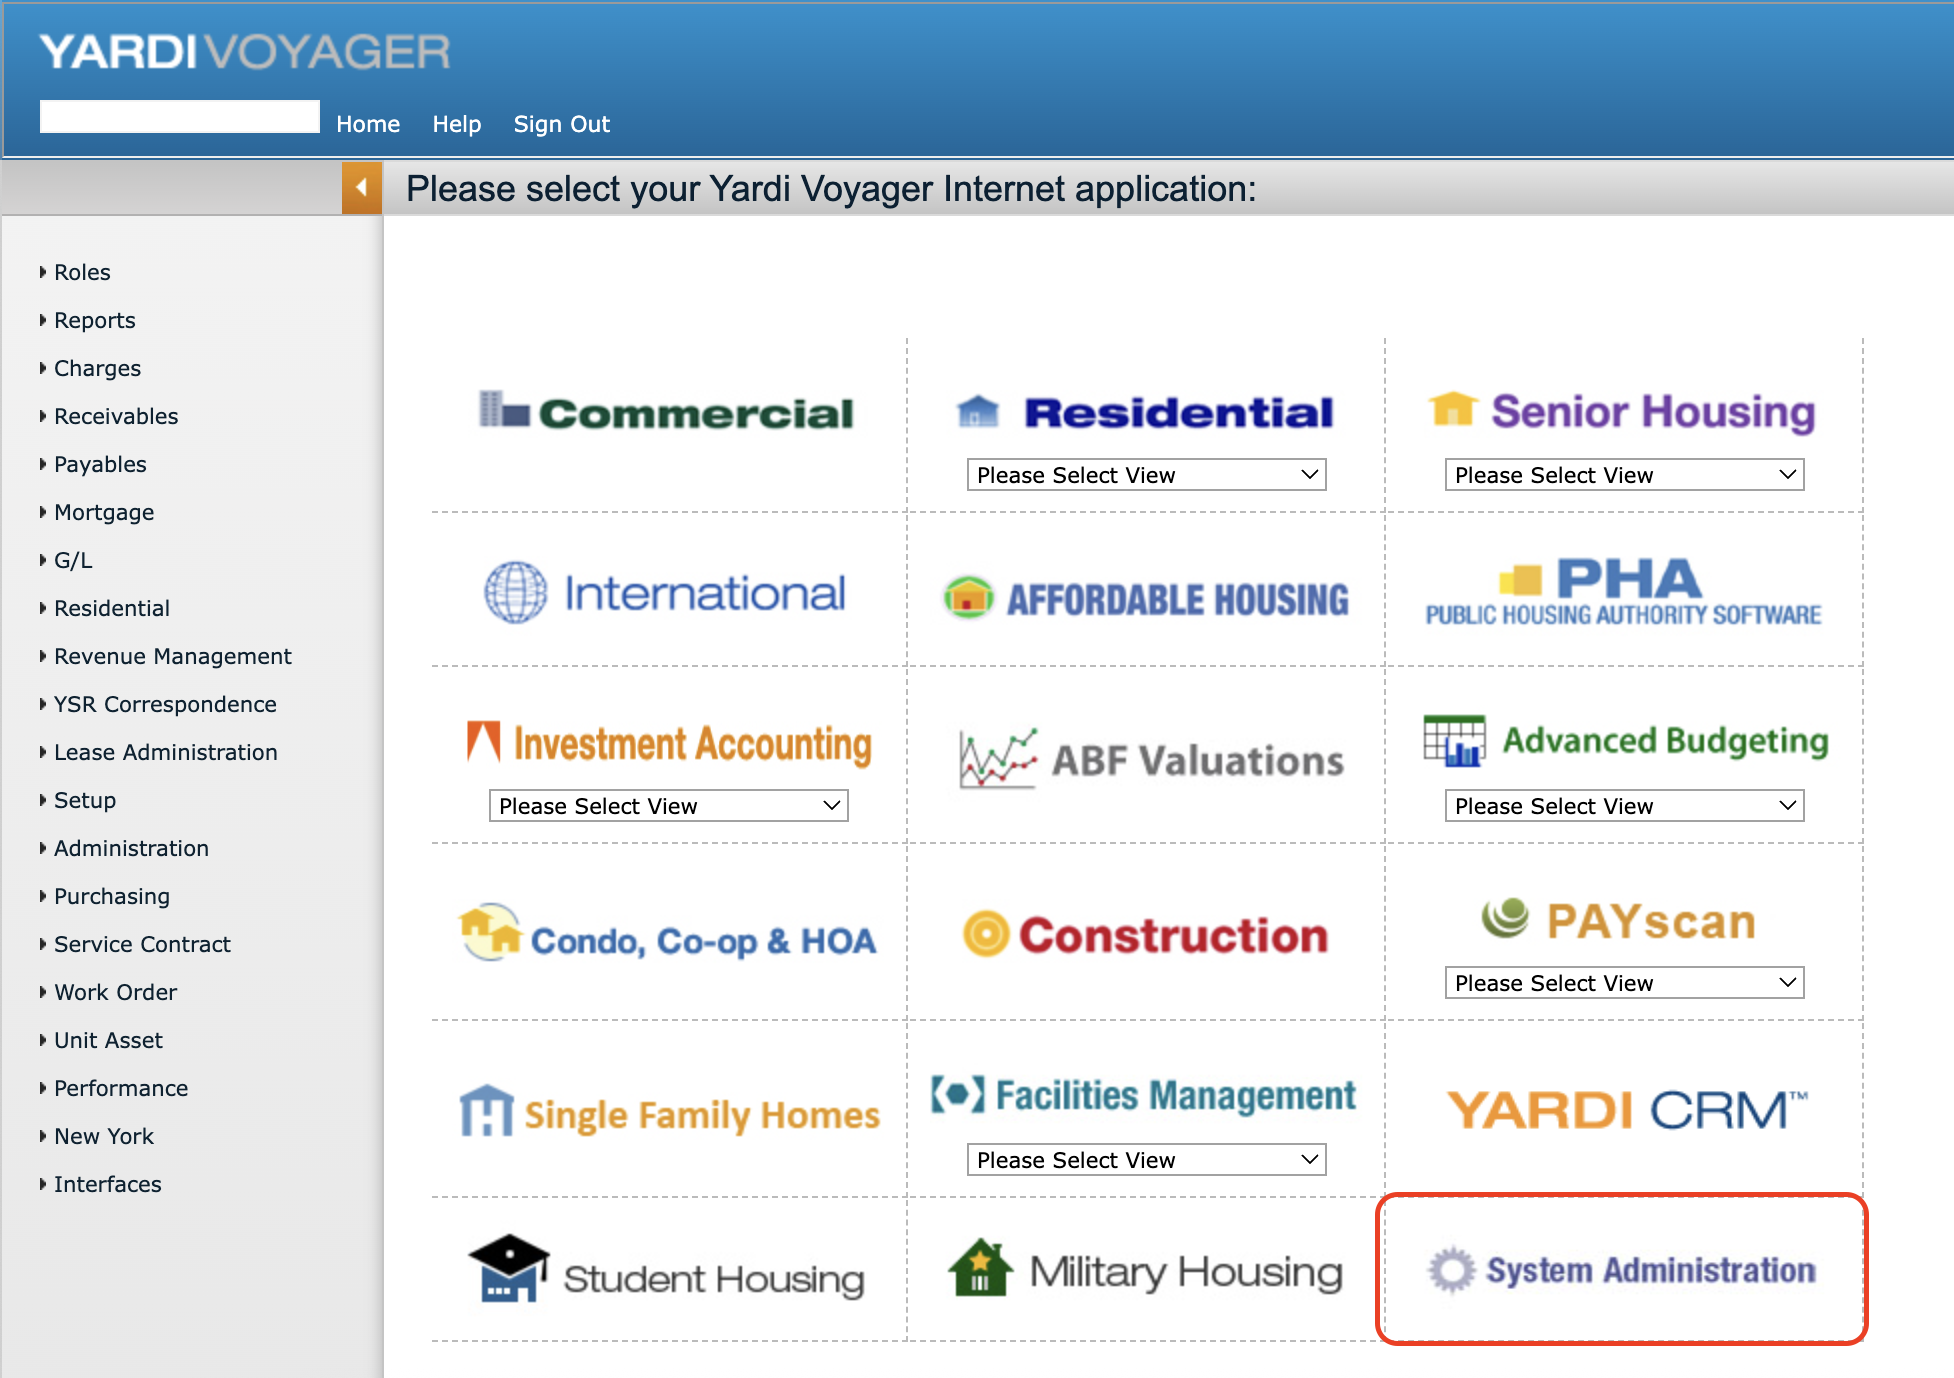
To configure users, go to:
Yardi > Home > System Administration tile
This process assumes no user or security group has been set up. You will create a group, configure permissions, then create a user and assign them to the group.
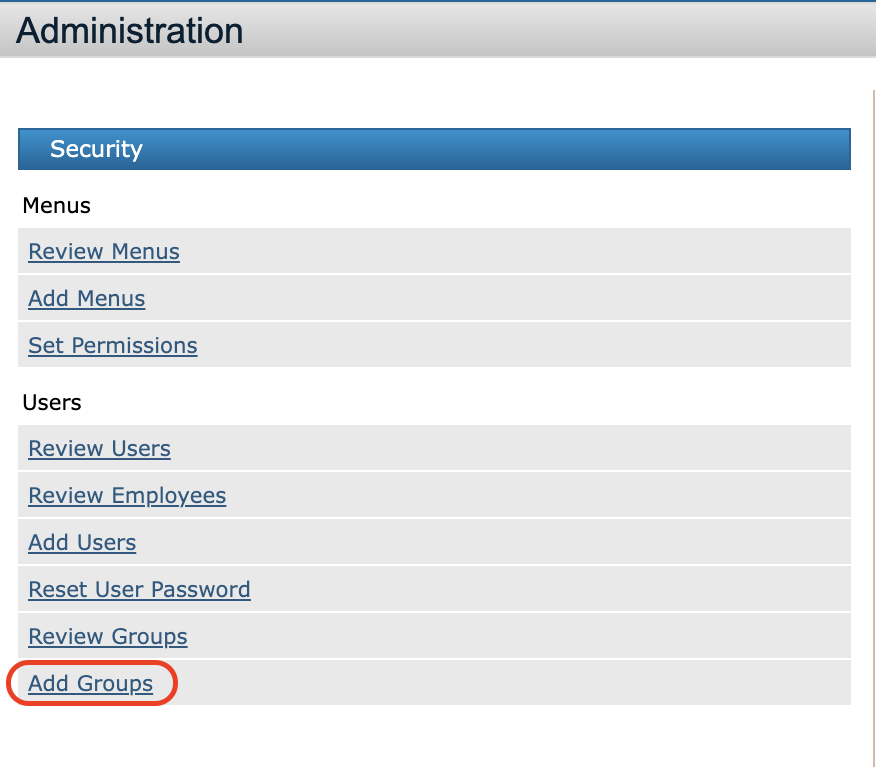
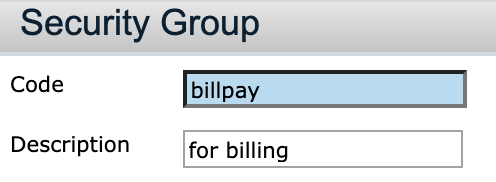
Add Group
-
Click Add Groups.
-
Enter a Code and Description (self-selected).
-
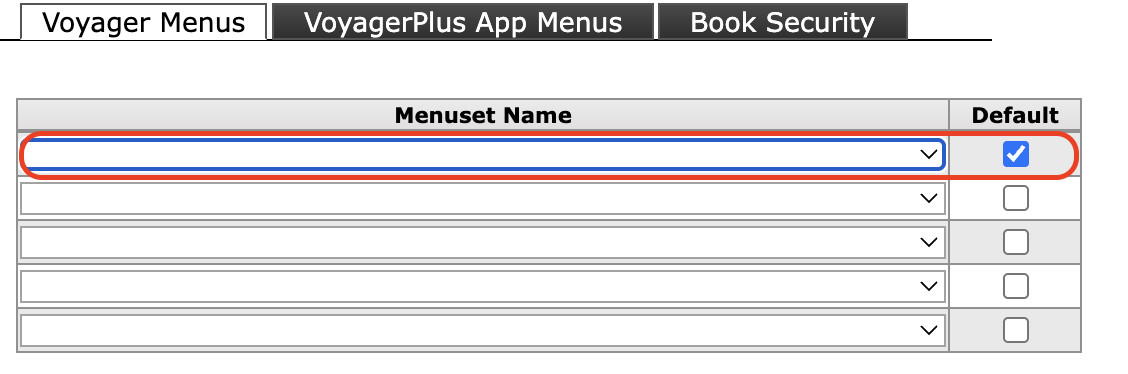
Set the Default Menuset Name to Interface.
-
Click Save.
Set Permissions
-
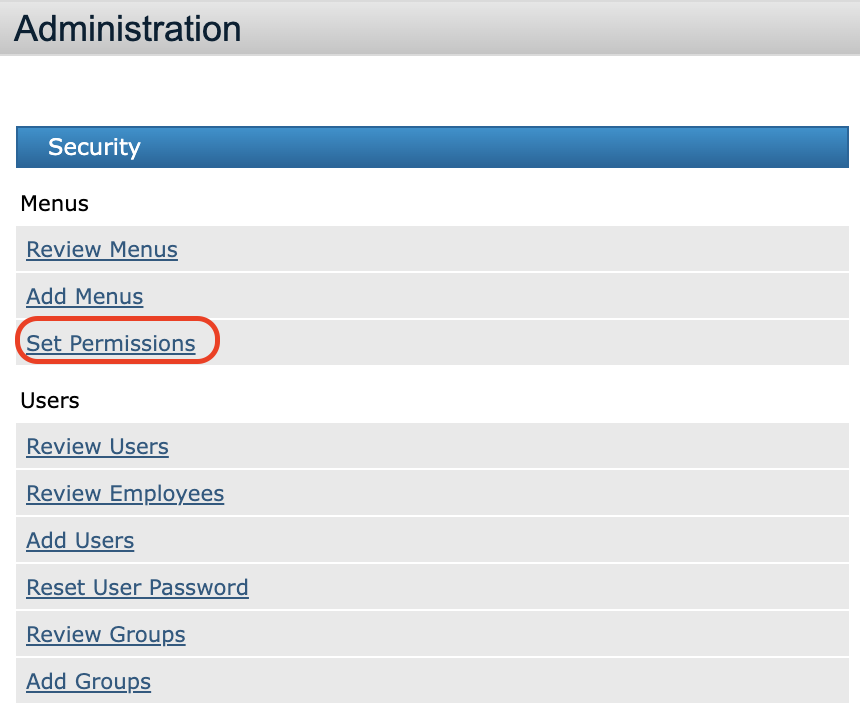
From System Administration, select Set Permissions.
-
Locate the group you created.

-
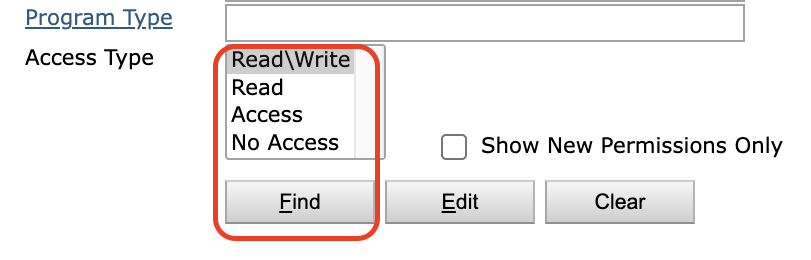
Leave the Program Type field empty, select Read/Write, then click Find.
-
If the permissions table is empty, select No Access, then click Find again.
-
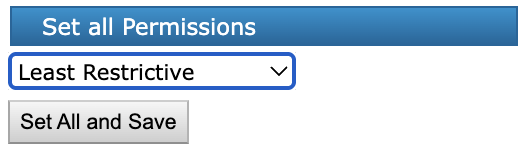
Use Set All Permissions and choose Least Restrictive.
-
This must be done from the screen where you can see the interfaces listed.
Add User
-
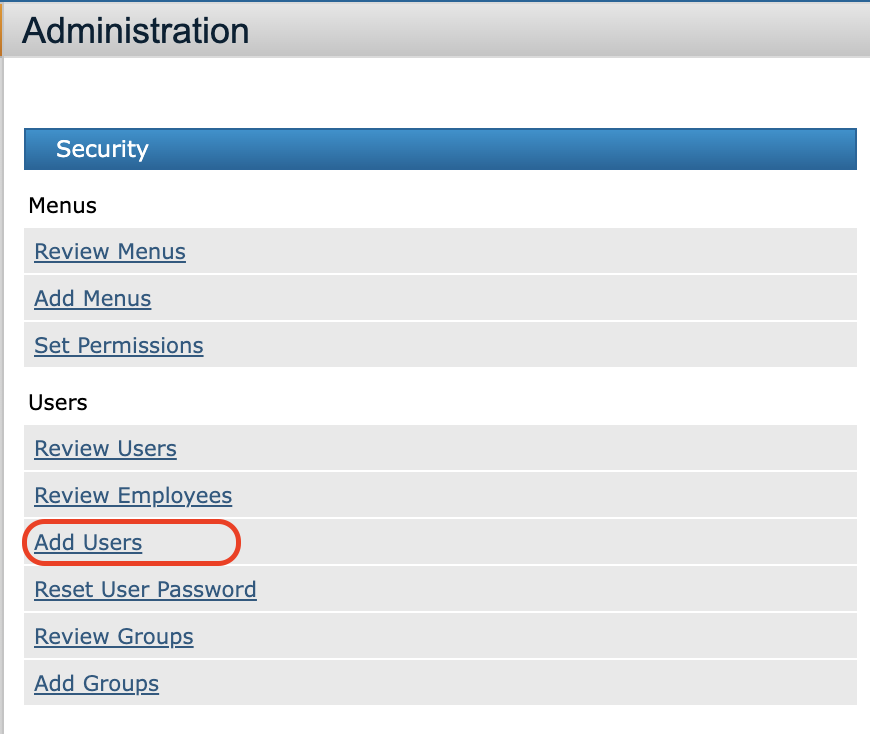
Return to the Administration page:
Yardi > Home > System Administration tile -
Click Add Users.
-
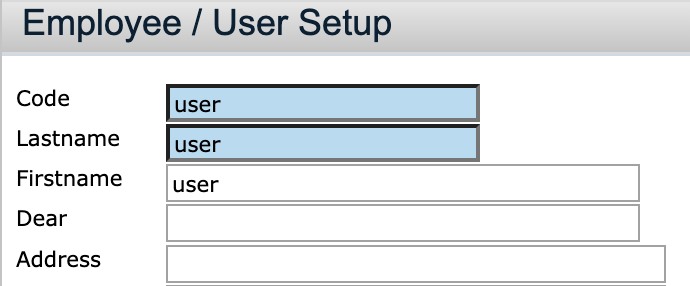
Enter the First Name, Last Name, and a self-selected Code.
-
Assign the Group you just created.

-
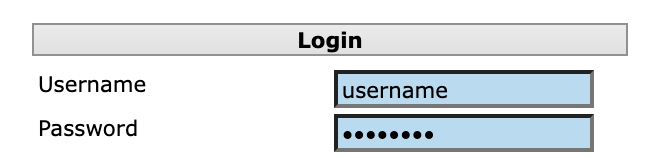
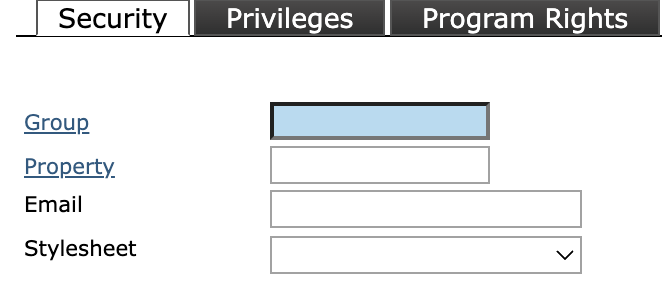
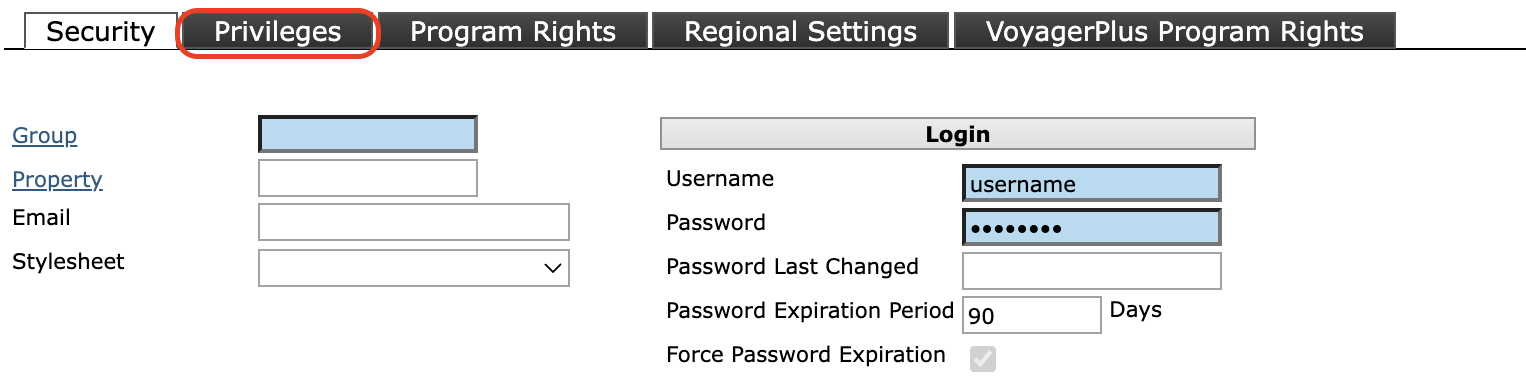
Set the Username and Password (chosen by the customer).
-
Select a property list to tie the user to (Active is recommended).
-
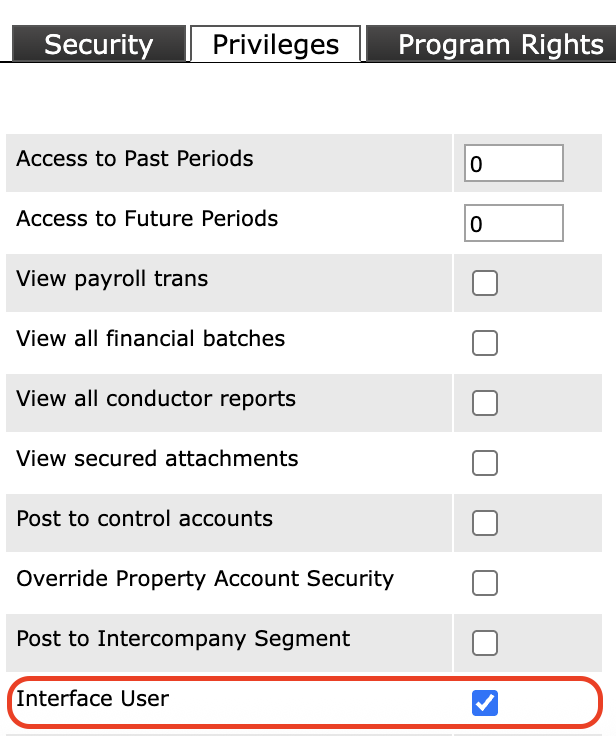
Under Privileges, check the box to mark the user as an Interface User.
-
Click Save.
Property Setup
Bulk Property Setup
(This method can also be used for a single property.)
-
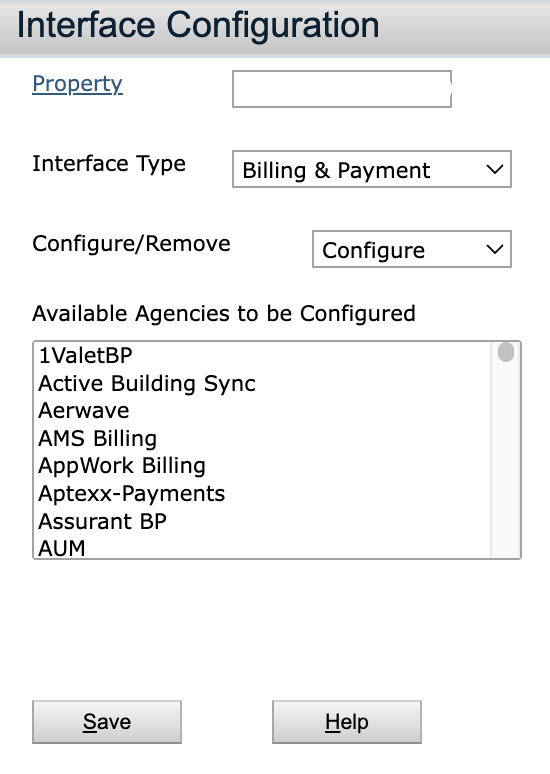
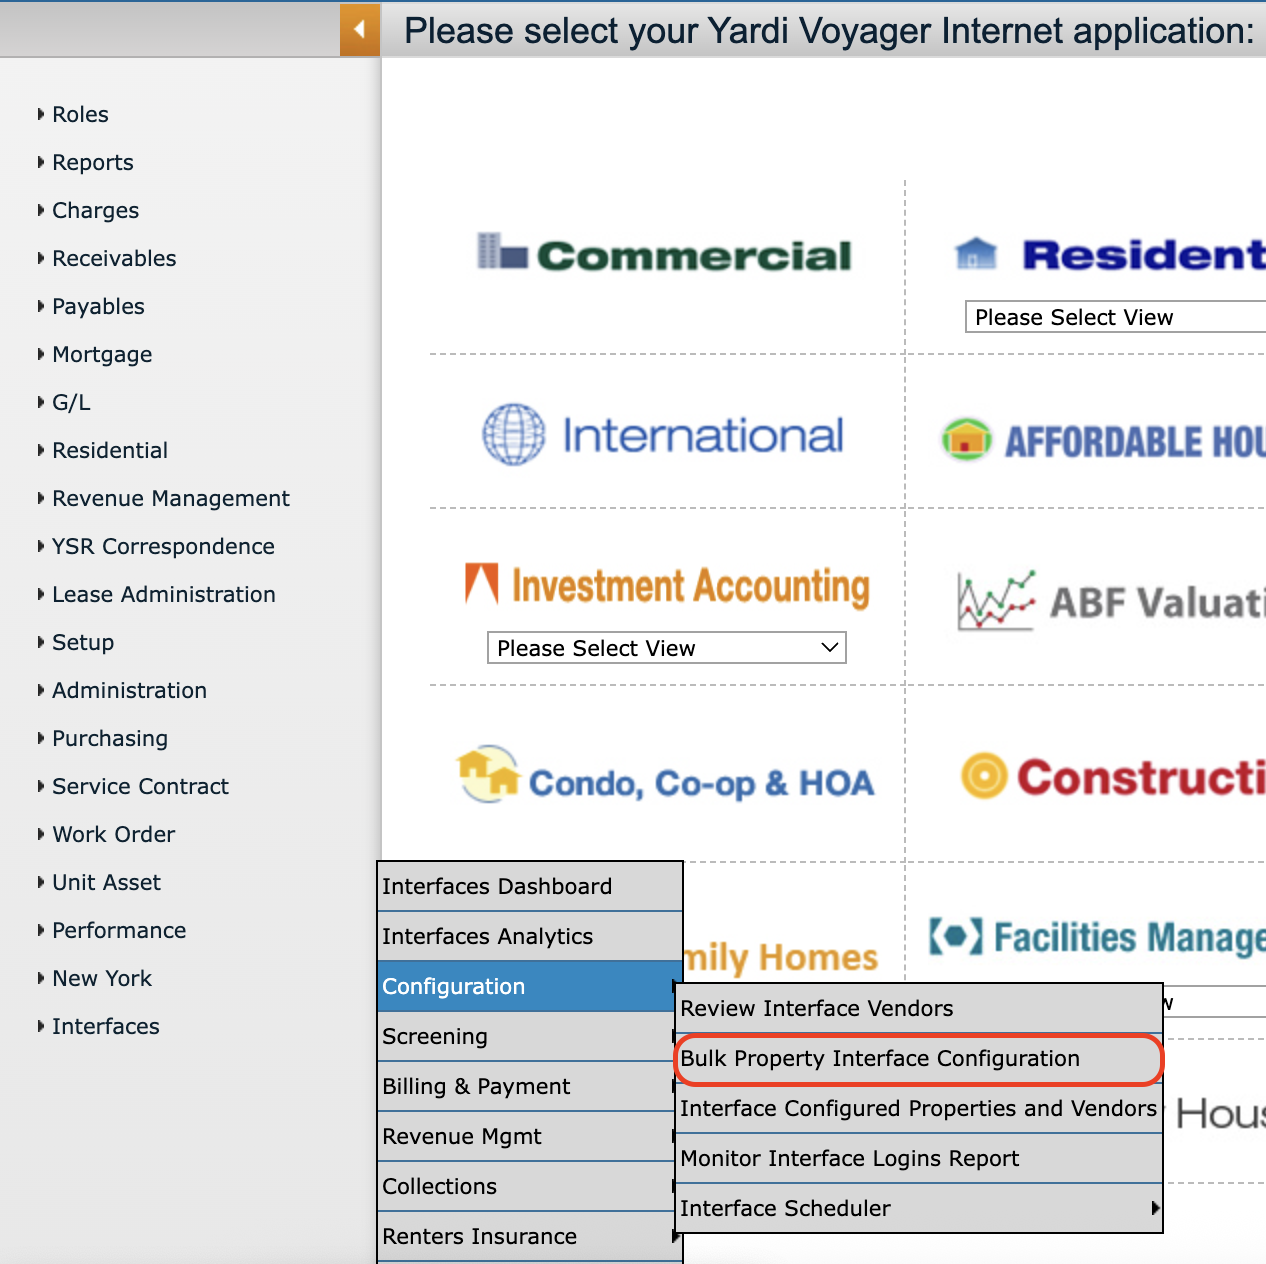
Go to Interfaces > Configuration > Bulk Property Interface Configuration.
-
Search for and select a Property.
-
Choose Billing and Payments as the Interface Type.
-
Leave Configure selected.
-
Select the correct Agency.
-
Click Save.